January 24, 2014
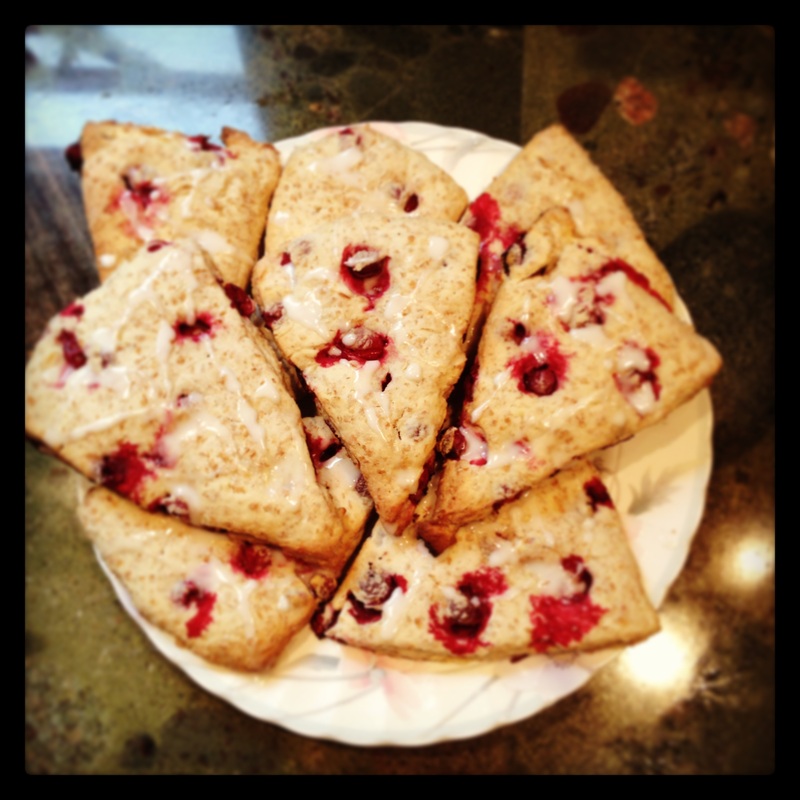
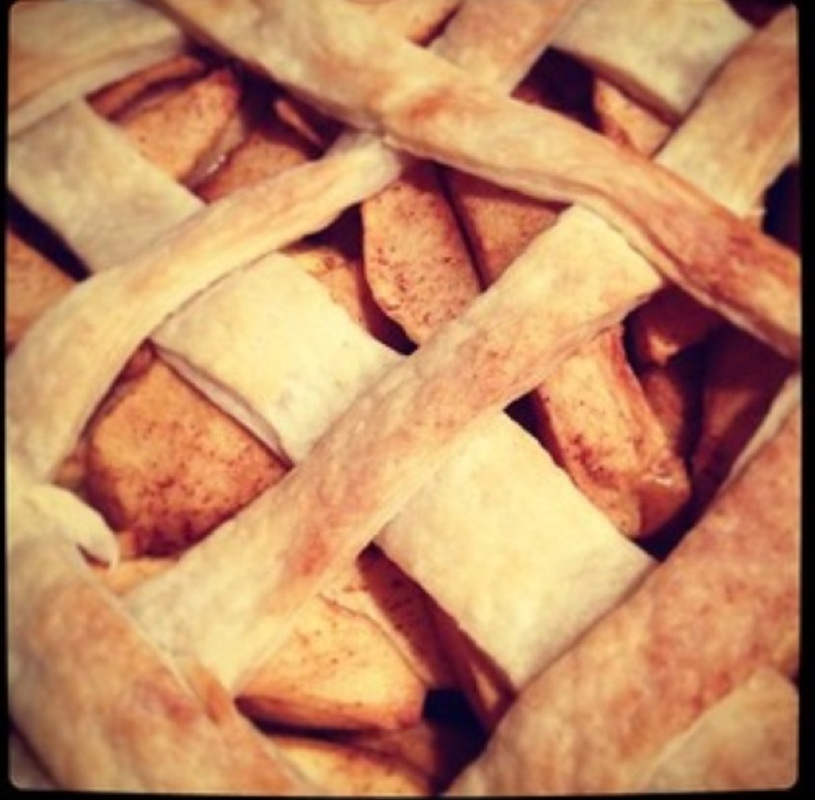
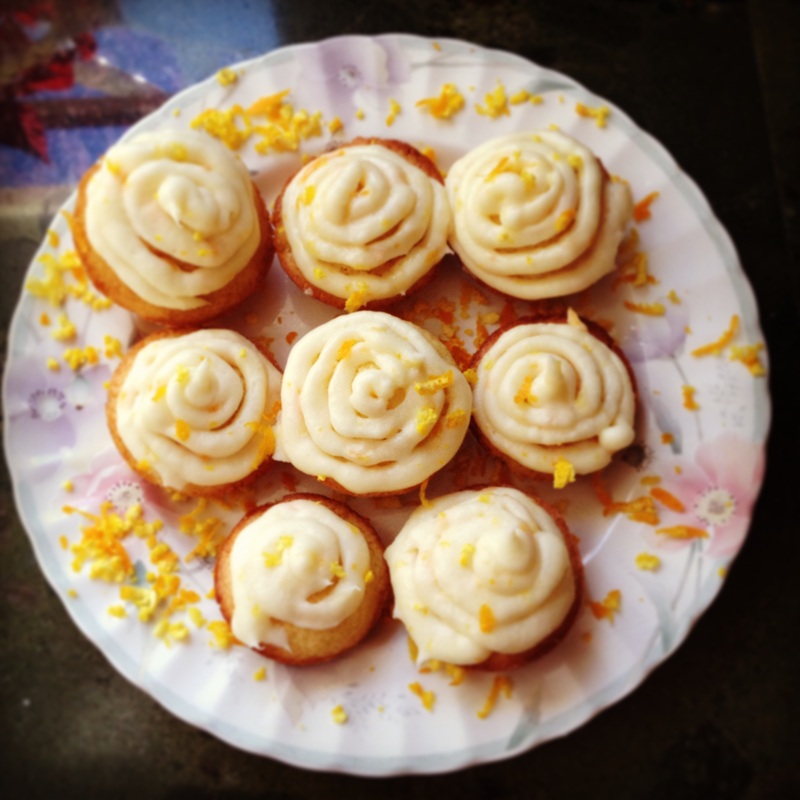
Lemon Cranberry Scones with Lemon Glaze. I thought I would make some scones today. However, I am on a little bit of a health kick so I added whole wheat flour instead of regular white flour. You can make changes to almost any recipe depending on your mood or lifestyle. This is a very straight forward easy recipe. I was extremely pleased with how these scones turned out. The lemon glaze adds a extra sweet tang to every bite. Give this recipe ago, they are a simple delicious snack accompanied with a spot of tea.
Lemon Cranberry Scones with Lemon Glaze:
SCONES:
2 Cups Flour (I Used Whole Wheat)
1/4 Cups Sugar
1 Tablespoon Baking Powder
1/4 Teaspoon Salt
1 Tablespoon Finely Grated Lemon Zest
1/2 Cup Cool Unsalted Butter, Cut into Small Pieces
1/2 Whipping Cream
1/4 Cup 2% Milk
1 Large Egg
1 Teaspoon Vanilla Extract
1 Cup Frozen Cranberries
GLAZE:
1 Cup Icing Sugar
1 1/2 Tablespoon Lemon Juice
1. To bake scones preheat oven to 375 degrees and spray with non stick spray.
2. Mix all dry ingredients in a large bowl and stir in lemon zest. Cut butter into small cubes and add to mixture.
3. In a separate bowl whisk together: cream, milk, eggs, and vanilla. Add this to the flour mixture and mix all together.
4. Flour a rolling surface and kneed dough making sure all ingredients are together. Shape the dough into a circle shape and cut like a pizza into sections. Place on cookie sheet and brush milk over top of the scone pieces. Bake for 20-25 minutes.
While scones are cooking it is time to make the glaze.
1. Add icing sugar and lemon juice resulting in a thick consistency.
2. When scones are cooled you can go ahead and drizzle icing over the scones.
ENJOY!
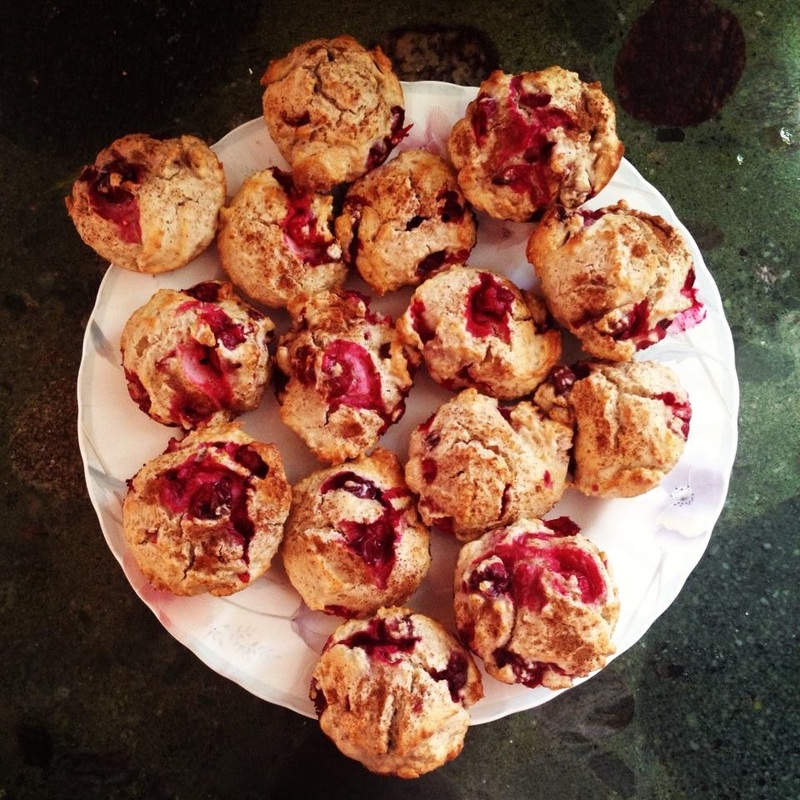
January 20, 2014
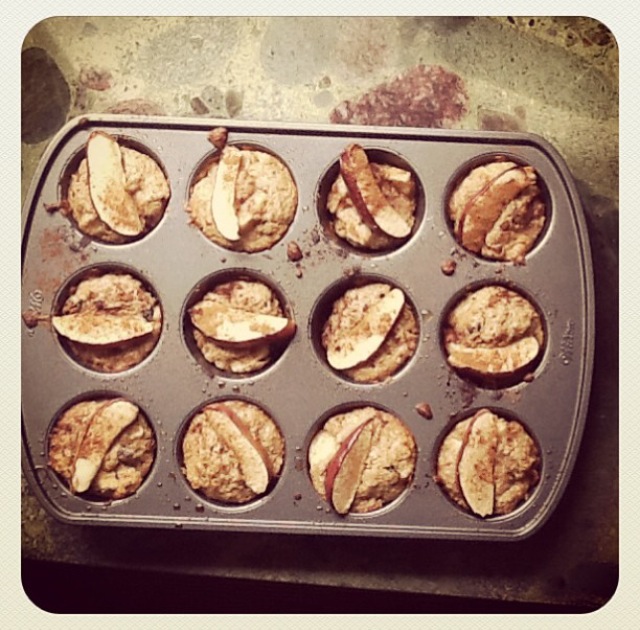
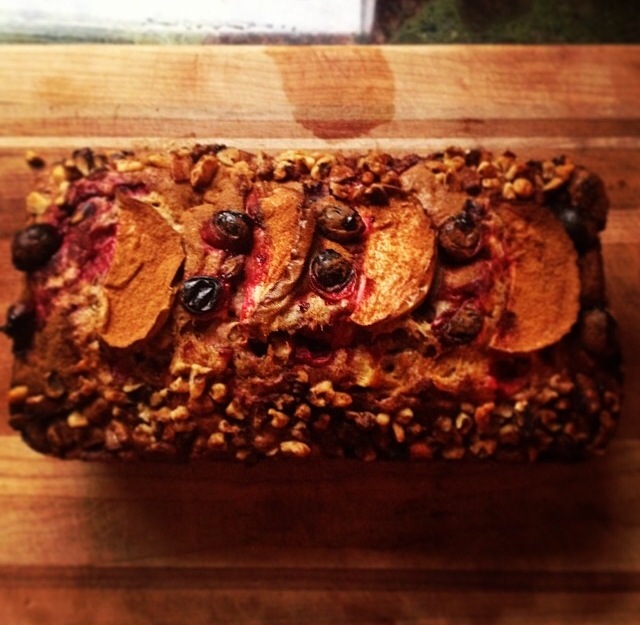
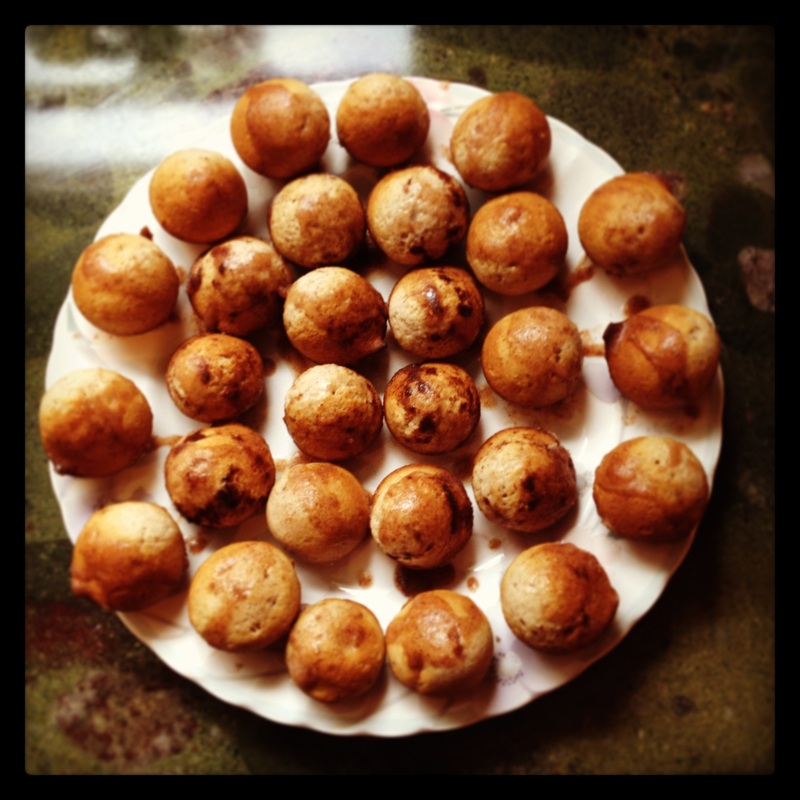
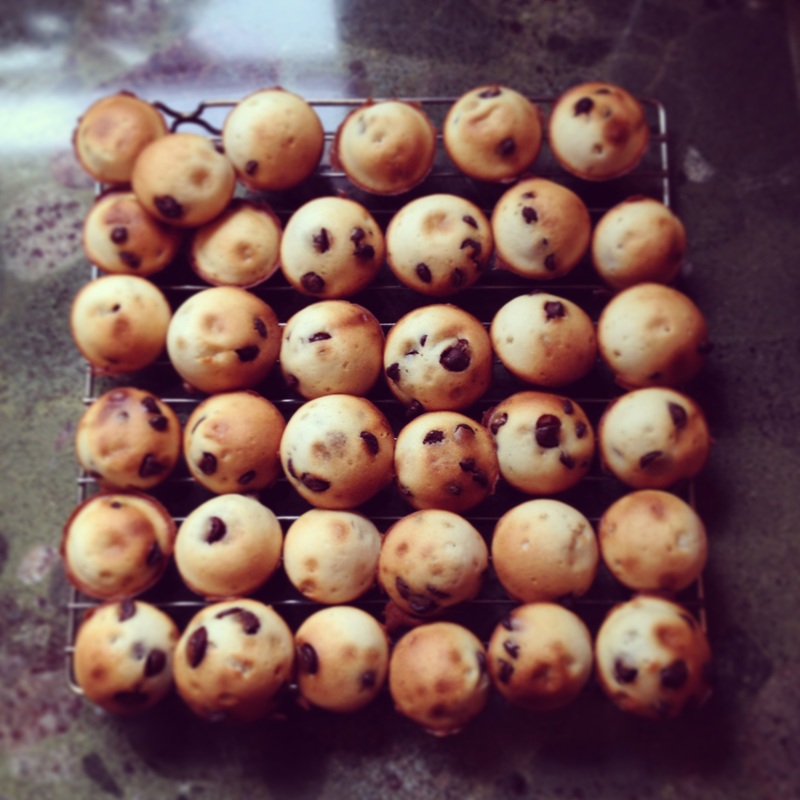
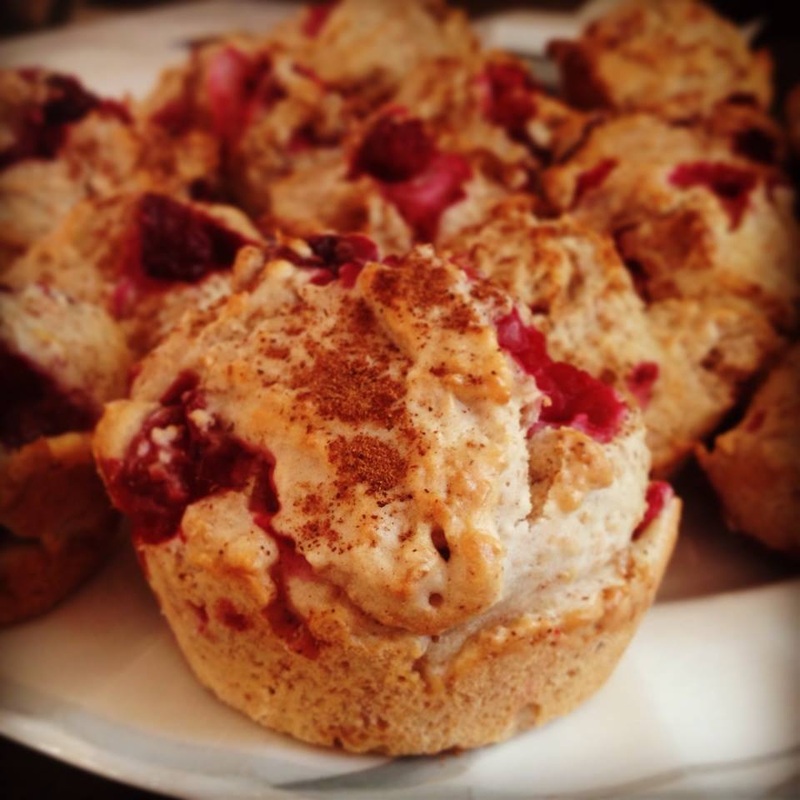
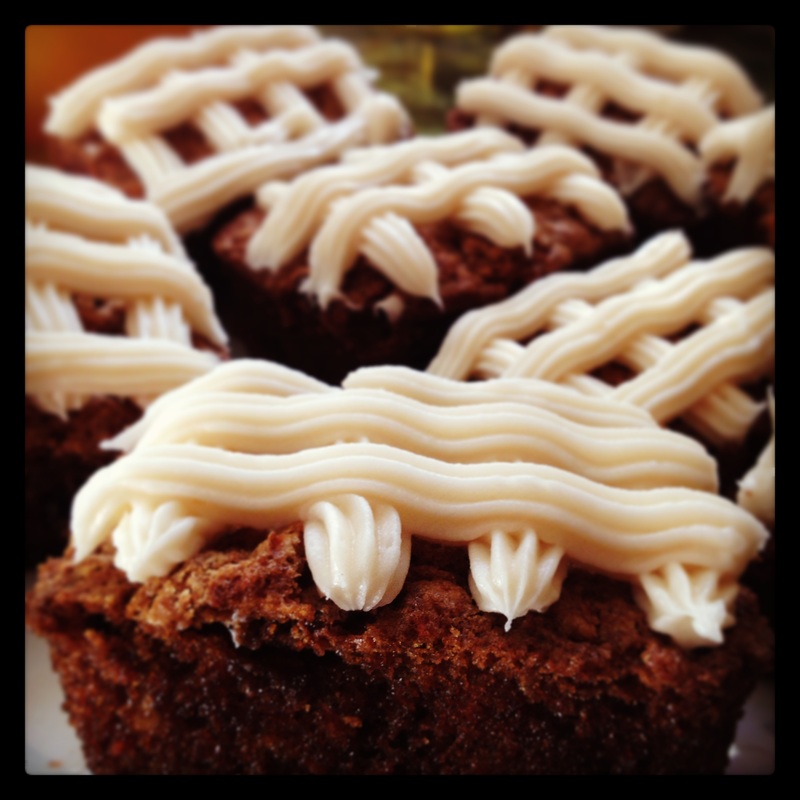
Muffins have become one of my favourite things to make. Over the past couple weeks I have been baking up a muffin storm. For Christmas my sister got me a mini muffin tin have been experimenting with them since. However, today I stuck to the classic regular size muffins. I came across this recipe for Cranberry-Citrus Muffins and they turned out fantastic. As I was going through the recipe I noticed it called for low fat vanilla yogurt sadly, I did not have any. When a recipe calls for yogurt that you do not have, an easy substitute is to mix a cup of milk with a tablespoon of white vinegar. Let the mixture sit for roughly three minutes before use. The consistency between yogurt and this mixture is very different therefore you will need to go with your judgement on what the batter looks like. Keep the dough thick enough to spoon it into the muffin tins making sure its not too runny. Another thing to keep in mind when using this milk and vinegar concoction is the cook time I found instead of a half hour the muffins were ready in fifteen minutes. Something that I added to the recipe that was not called for was about a half a teaspoon of cinnamon and a dusting on top. This just adds a little extra flavour to compliment the cranberry. To sum up, these muffins were amazing and I think you should try them!
Cranberry- Citrus Muffins:
Prep Time: 20 Minutes
Cook Time: 33 Minutes
Preheat oven to 375 degrees
Ingredients:
1 1/2 Cups Chopped Cranberries (I used whole frozen cranberries)
2 Cups plus a tablespoon of All Purpose or Whole Wheat Flour
2/3 Cups Granulated Sugar
2 Teaspoons of Baking Powder
1/2 Teaspoon Salt
1/2 Cup Vegetable Oil
1/2 Teaspoon Grated Lemon Rind
1/2 Teaspoon Vanilla Extract
2 Large Egg Whites
1 (1Cup) Carton Vanilla Low-Fat Yogurt
1 Large Egg
Cooking Spray
Mix all the wet ingredients together: oil,vanilla,lemon rind,egg whites,egg, and yogurt and set aside. Secondly, take cranberry,flour,baking powder, sugar, salt and mix in a bowl. Next, slowly add wet ingredients to the dry with an electric mixer. Mix well and spoon into sprayed (cooking spray) muffin tins. Let cook for 15-30 minutes (depending on if you used yogurt or the vinegar and milk mixture) Let cool in tins. And enjoy!
MONDAY, JANUARY 13,2014
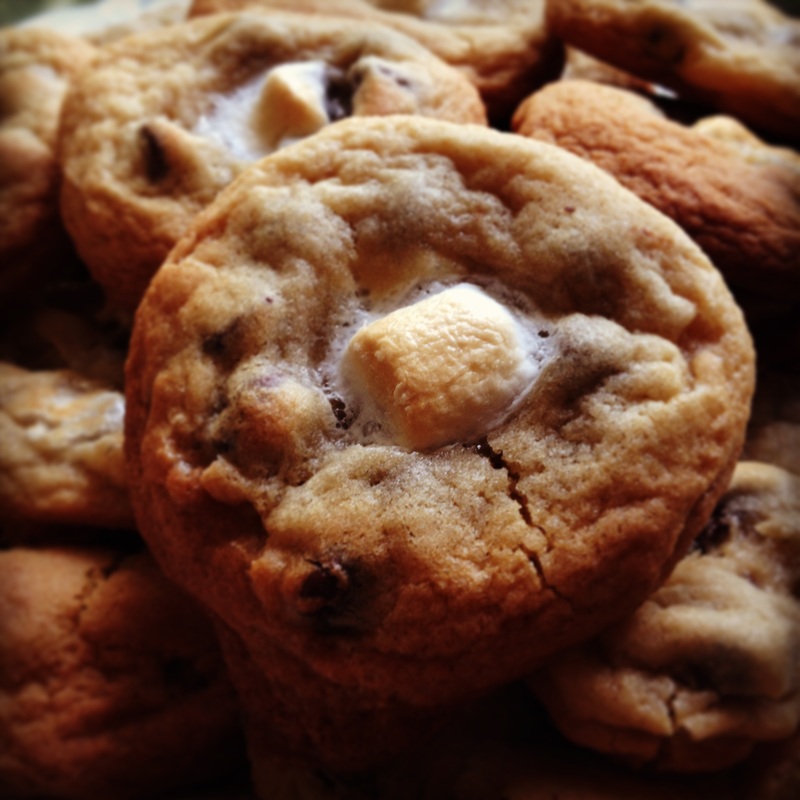
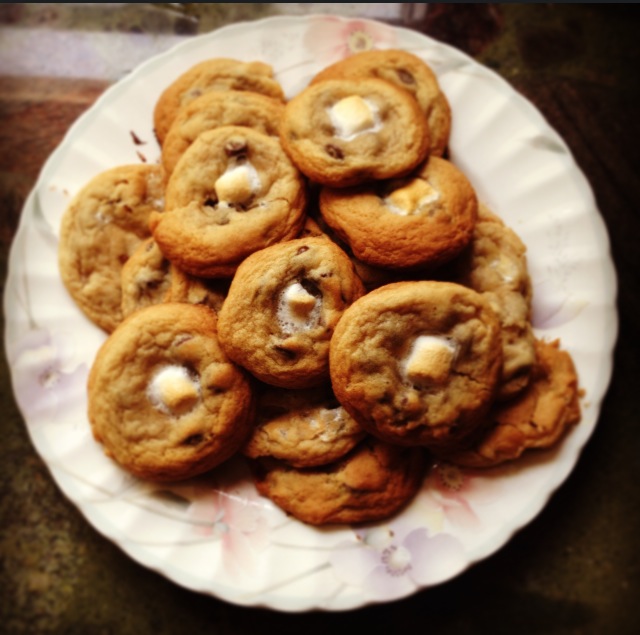
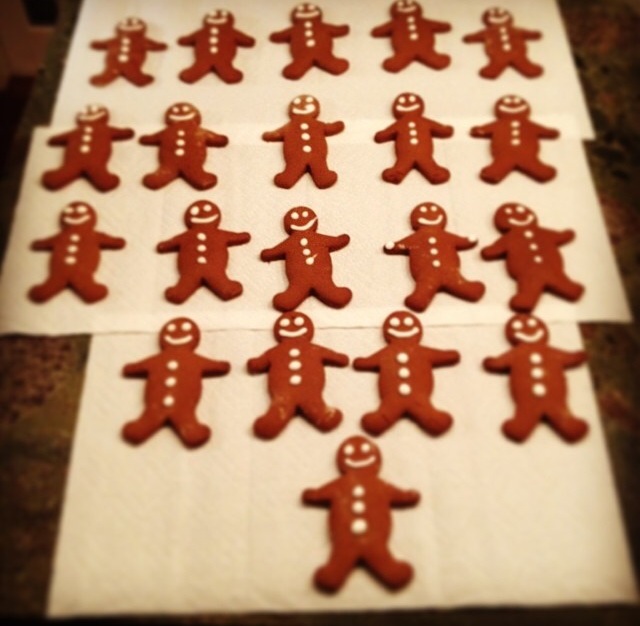
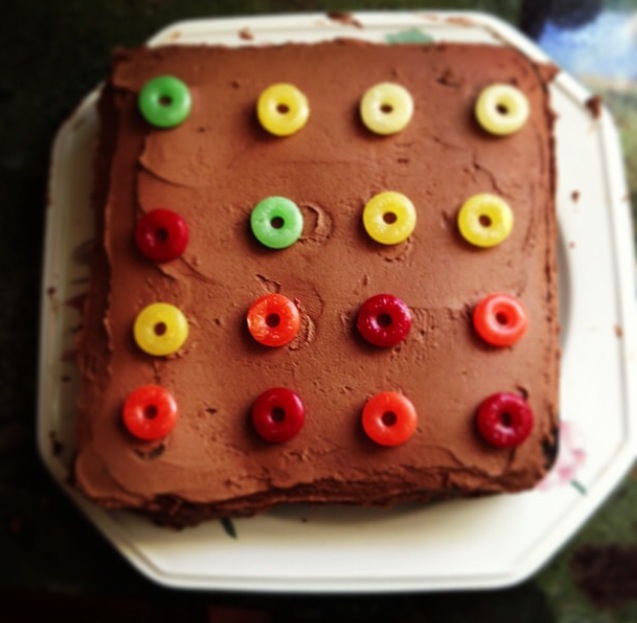
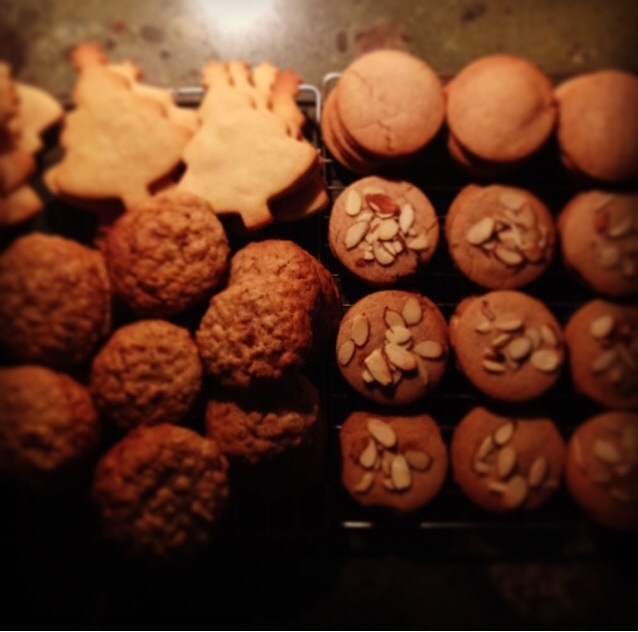
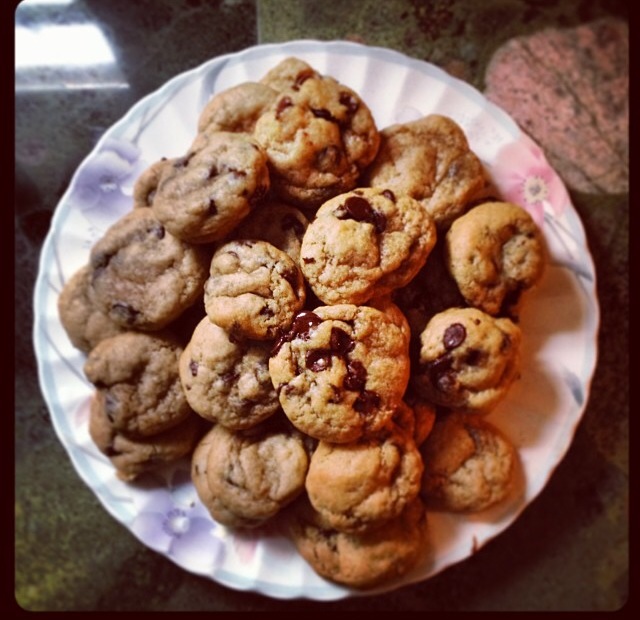
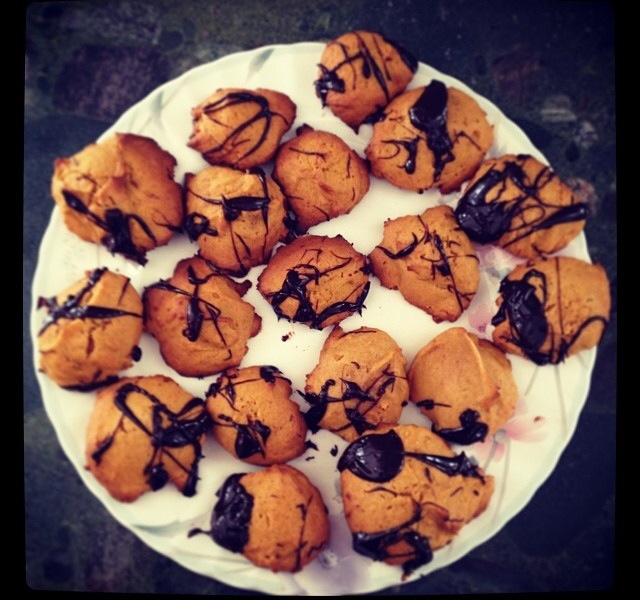
My first post! This is so exciting! I have started this blog in the hopes that I can share my love for baking with the world as well as, to get other people to start baking too! I have not gone to school or had training in baking I just have this drive and passion for it. I began baking when I was much younger, starting with the simple Peanut Butter Cookies and the classic Chocolate Chip Cookie. As I have gotten older I have become more interested in expanding not only my cookie skills but also my baking experience in general.
Everything I make is 100% homemade. I love the imperfections of home baked goods. The cookie not being a perfect circle is what makes it so unique! I am looking forward to posting pictures, new recipes and some tips and tricks.


 RSS Feed