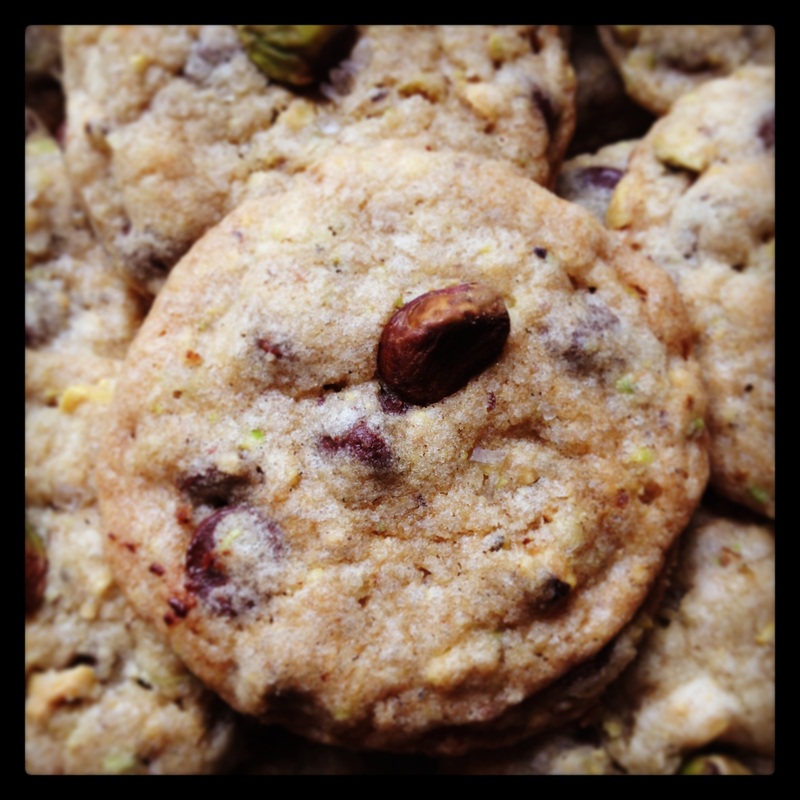
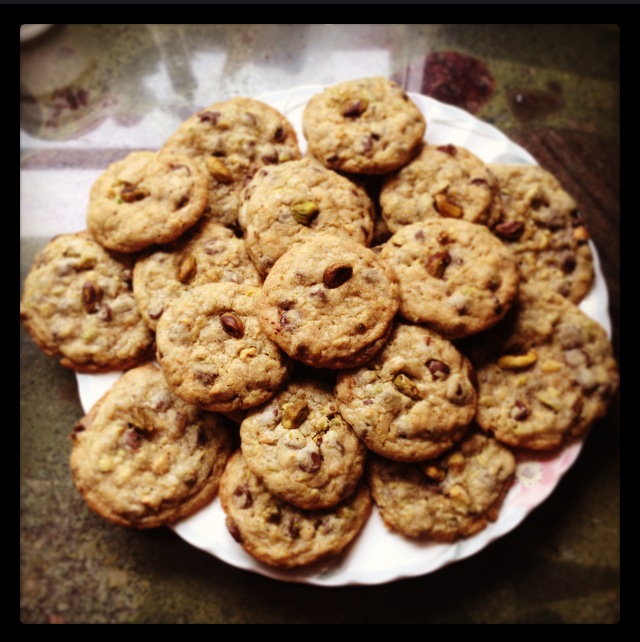
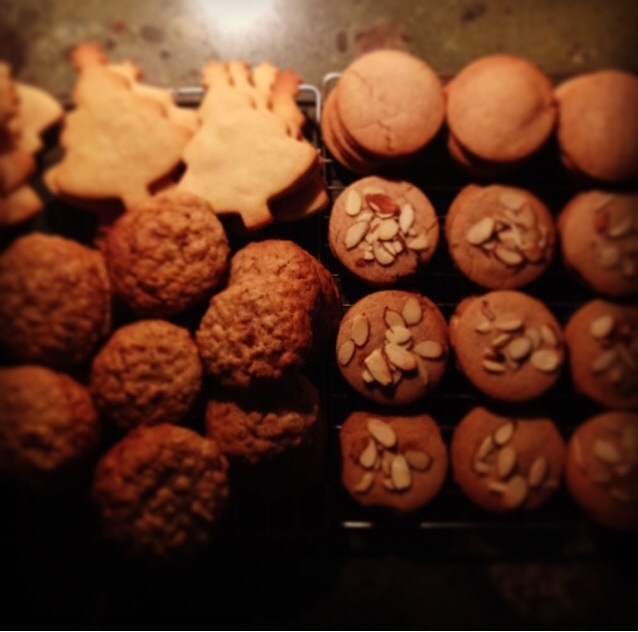
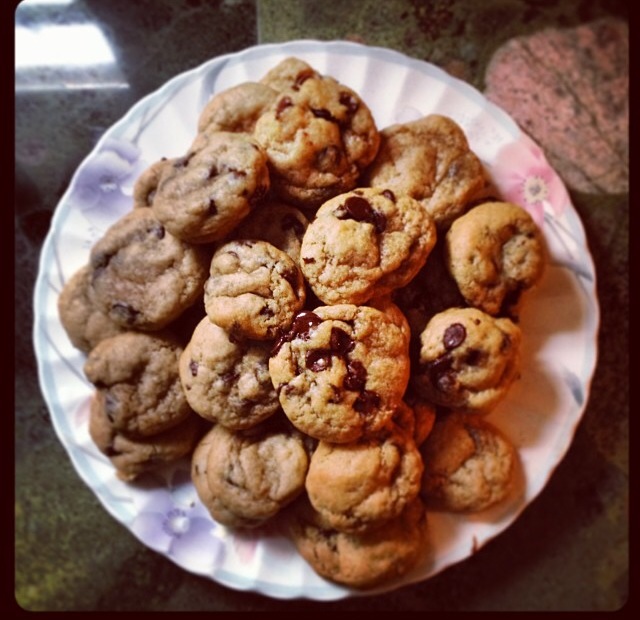
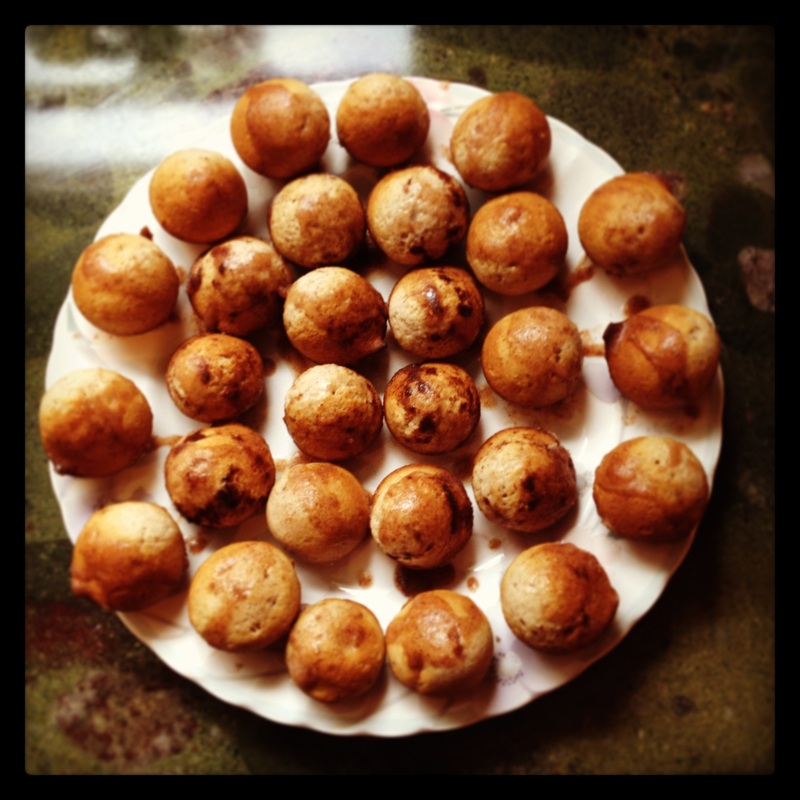
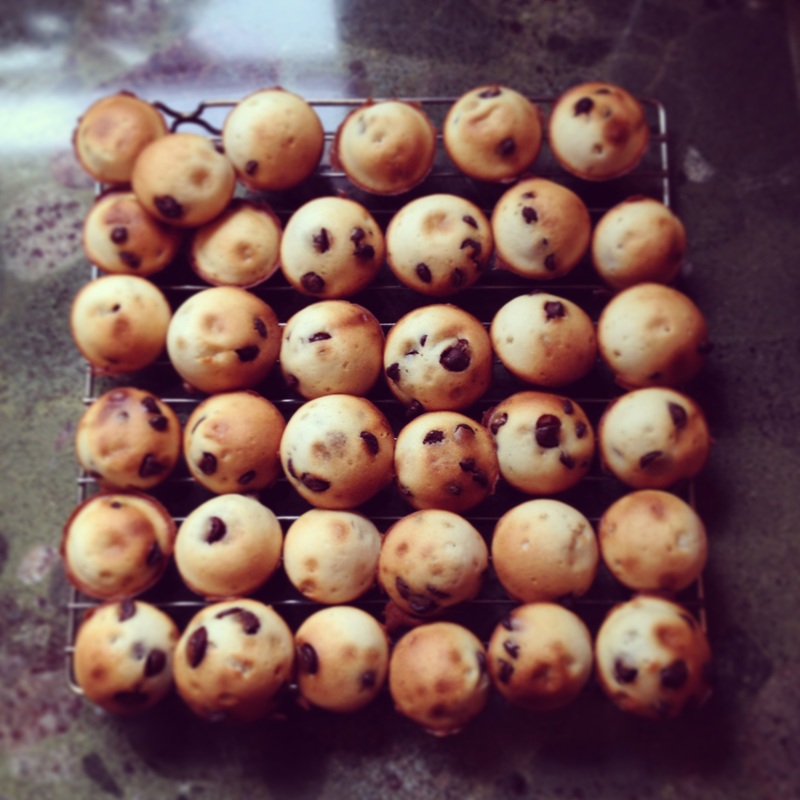
Pistachio's are one of the many nuts that I love!! I had never baked with pistachios before so I thought I would try it out. However, there were not as many recipes as I had hoped for. On my search for recipes I stumbled across a Dark Chocolate, Pistachio & Smoked Sea Salt cookie. I instantly was excited as I am always willing to try something new so I decided to bake a batch! Surprisingly, the cookies turned out delicious! The sea salt paired with the chocolate really gave that sweet and salty flavour. I however, did make some changed to the recipe because I did not have all the ingredients needed. For example, instead of dark chocolate I substituted milk chocolate as well as, smoked salt I used regular corse sea salt. These alterations did not change the flavour of the cookie drastically. Try these cookies out they are amazing if you are wanting to give something new a try!
Dark Chocolate, Pistachio & Smoked Sea Salt Cookies:
1/2 Cup Unsalted Butter (Room Temp)
1/2 Cup Granulated Sugar
1/2 Cup Brown Sugar (Packed)
1 Large Egg
1 Teaspoon Vanilla
1 1/4 Cups Flour
1/2 Teaspoon Baking Soda
1/4 Teaspoon Salt
1 1/2 Cups Chocolate Chip (Dark)
1 Cup Shelled Pistachios (Coarsely Chopped)
Smoked Sea Salt (For Topping)
1. Start by mixing together: butter, sugar, brown sugar until fluffy. Let sit for round five minutes. Slowly add in egg, and vanilla and mix for roughly a minute. This ensures that each ingredient is mixed in well.
2. Next, incorporate flour, baking soda, and salt together. Add to previous mixture all at once.
3. Now it is time to add in the chocolate chips and mix well then toss in the shelled pistachios. And make sure that everything in evenly mixed threw-out
4. Roll into little balls and place on a greased cookie sheet. Topping the cookies with a few crystals of the smoked sea salt.
5. Place in oven preheated to 300 degrees and bake for around 15-18 minutes. Let cook on cookie sheet then transfer over to cooking rack.
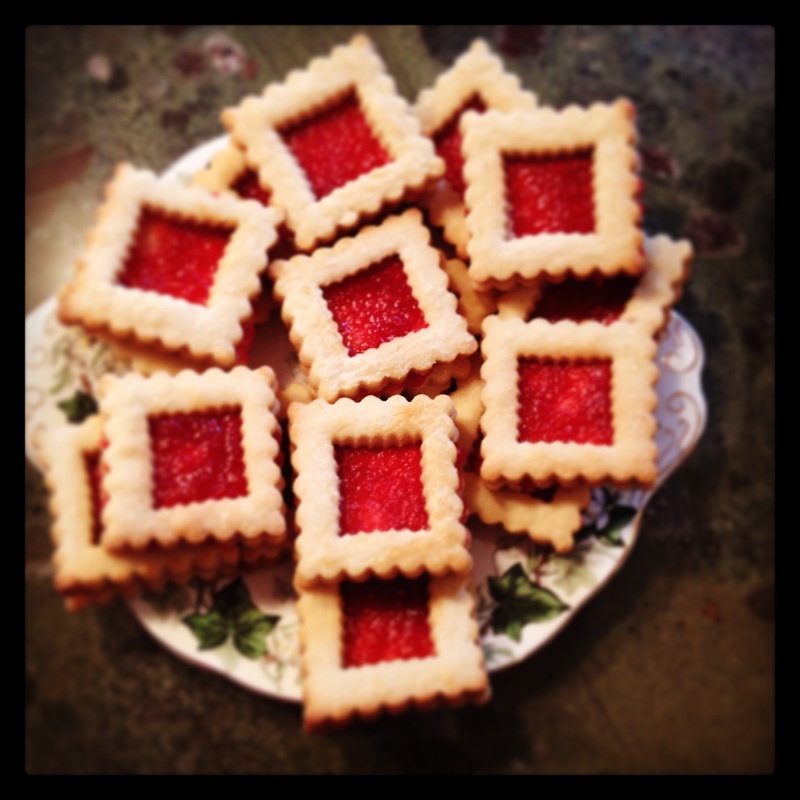
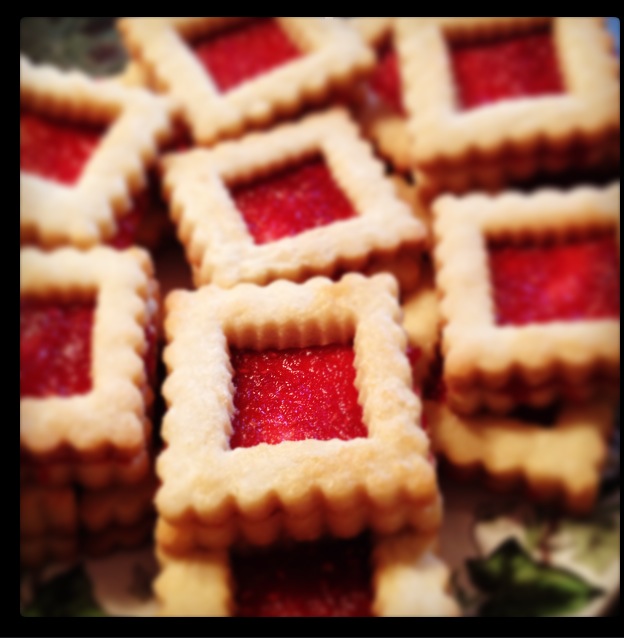
This cookie is the best of both worlds. Who doesn't like jam and cookies! The sweet taste of the jam mixed with the sugar cookie makes for a delicious treat. I was making these cookies for my grandmas birthday and they were sure a hit. You can make them in any shape! You will need two of the same cookie cutter shapes, one large and one small. First, roll the dough out and cut out cookies in desired shape. Then, take the smaller cookie cutter and place in the middle of the large cookie and cut the middle out. Bake cookies let cool on cookie tray then transfer to cooling rack. When cookies are completely cooled you can place the icing and jam in the middle of the cookies and stick together. Place cookies in the fridge to bind them together. Try them out.
Jam Rings
1 Cup Butter Softened
3/4 Cups Sugar
1 Egg Yolk Lightly Beaten
2 Tsp Vanilla
2 Cups Flour
A Pinch of Salt
1 Egg White Lightly Beaten (to brush over cookies)
Filling:
4 Tbsp Butter Softened
1 Cup Confectioners Sugar
5 Tbsp Strawberry or Raspberry Jam Warmed
1. Place butter and sugar into a large bowl and mix together until light and fluffy.
2. In a separate bowl combine: egg yolk, and vanilla. Once mixed together add to sugar and butter mixture.
3. Next, slowly add flour with electric mixer. Once mixed toss in a pinch of salt.
4. Roll dough into two separate balls and place into fridge for at least an hour.
5. Preheat oven to 375 degrees. On a floured surface roll out dough. Cut out shapes and place to the side. After cutting the dough evenly divided the cookies. Take half the cookies and place the smaller cookie cutter in the middle and cut the shape out. Bake cookies for 7 minutes. At the end of the seven minutes take out cookies and spread egg yolk over cookies with a brush and sprinkle with sugar. Place back in oven for an additional 5-8 minutes.
6. While cookies are cooling you can mix together the filling. Simply add soft butter and confectioners sugar together to make a icing texture.
7. Lastly, you can now put the cookies together. Smooth a thin layer of the icing all over the whole cookie adding heated jam on top. Next, place the cookie with the centre missing and place it on top the jam filling. Put cookie in the fridge for filling to try.
E N J O Y
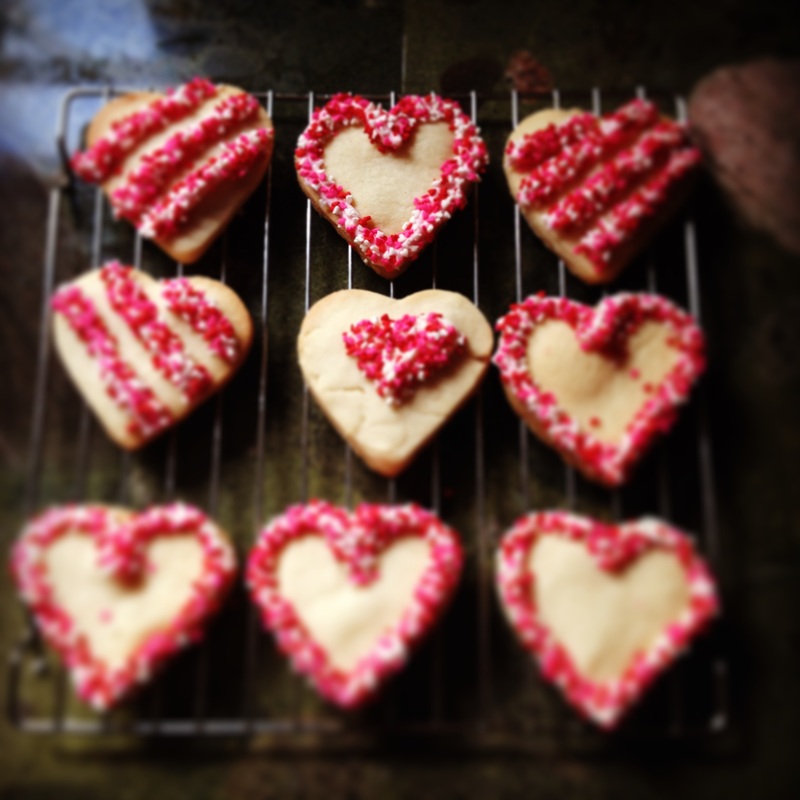
Better late then never they say... so here are my version of Valentine cookies. I hope everyone had a wonderful Valentines Day! I made my boyfriend some tasty heart cookies, and you should definitely try these out for any occasion. They are a simple yet scrumptious treat. I cut them into heart shapes but you could cut them into any shape you want. The dough is a simple sugar cookie, and you can decorate them as you wish. A great way to get children involved is to get them to help you out with the decorating!
"I Love You' Vanilla Cookies:
1 2/3 Cup Flour
2/3 Cup Butter
2/3 Sugar
1 Tsp Vanilla
1. Preheat oven to 350 degrees and grease two cookie sheets
2. Add ingredients in order as listed
3. Roll dough into two balls and refrigerate for an hour minimum
4. On a floured surface roll out the dough. Using cookie cutters cut out the dough into desired shapes. Place on cookie sheets and bake for 15-20 minutes.
5. Let cool on cooling racks. Wait till cookies are completely cooled before decorated. Add icing, sprinkles and candy.
Here is the recipe for the icing I used:
2/3 Cups Soften Butter
4 Cups Icing Sugar
2 Tbs Milk
1 Tsp Vanilla Extract
4 Drops of food coloring
1. Mix butter and icing sugar together until combined well
2. Add milk and vanilla mix until a thick paste and add in food coloring
H a v e F u n D e c o r a t i n g!
MONDAY, JANUARY 13,2014
My first post! This is so exciting! I have started this blog in the hopes that I can share my love for baking with the world as well as, to get other people to start baking too! I have not gone to school or had training in baking I just have this drive and passion for it. I began baking when I was much younger, starting with the simple Peanut Butter Cookies and the classic Chocolate Chip Cookie. As I have gotten older I have become more interested in expanding not only my cookie skills but also my baking experience in general.
Everything I make is 100% homemade. I love the imperfections of home baked goods. The cookie not being a perfect circle is what makes it so unique! I am looking forward to posting pictures, new recipes and some tips and tricks.


 RSS Feed